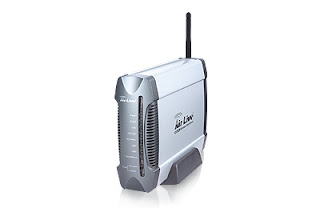
IP configuration for the NAS can use the browser on a computer that is connected directly or via switch. In computer terms used in the NAS configuration has a single IP network with a NAS which by default has the IP 192,168,123,254, then the computer is configured with the IP 192.168.123.10
Once adjusted to the computer's IP IP NAS, and physically connected using cables, then performed tests on the connection using the ping command promt COMAND (cmd.exe) on a computer with windows operating system. After making sure that computers connected to the NAS, the NAS configuration is done through the browser on the computer by going to the address as follows 192,168,123,254 with this view.
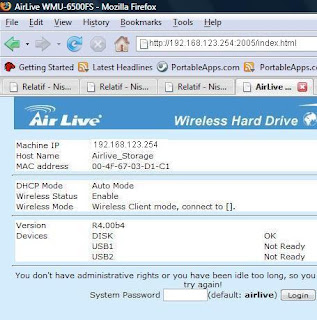
To be able to configure the NAS, first login with default password "airlive" and select the login button for further configuration.
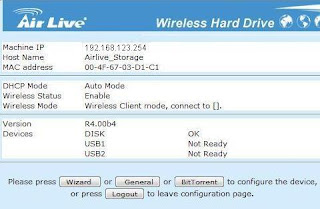
To configure the NAS can be selected from three (3) the mode wizard mode, general, or bit torent. To facilitate construction, the wizard mode is selected
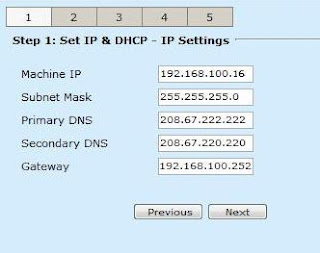
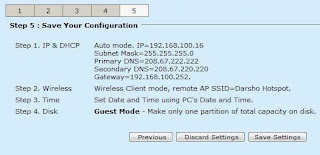
The first step in the wizard mode is IP and DHCP configuration. Here, IP is configured with a value of 192.168.100.16, subnet mask of 255.255.255.0, Primarry DNS 208.67.222.222, 208.67.220.220 secondary DNS, and Gateway IP AP 192,168,100,252, which is connected to the local network.
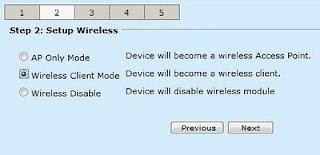
 The next step select mode wireless client mode is selected because it functioned as a NAS client to AP
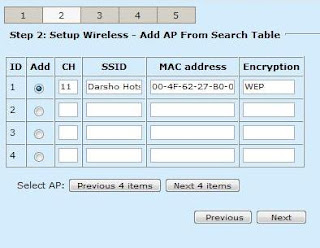
 Because it functioned as a client, the NAS needs to recognize the AP. To search for the AP in question, it is necessary to choose Search AP, after it selected the next button to continue the wizard.
AP view detected in laboratory Darush SHOLIHIN Junior High School is as follows.
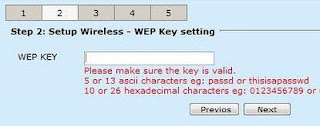
 The next step is to connect the NAS to the AP with WEP KEY fill because the AP is configured to use WEP KEY.
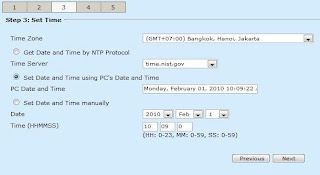
The next step for NAS time zone configuration. Here is configured with Indonesia time zone.
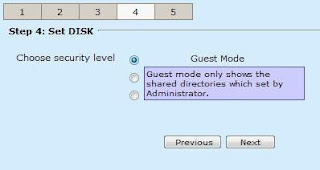
 Step four choose the security level as a guest mode.
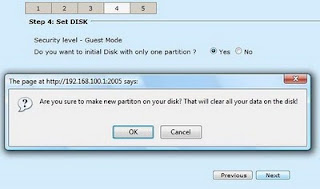 The final step is to store the results of the configuration that has been done.

No comments:
Post a Comment